Anker Roav Dash Cam Review
• filed under technology • permalinkOver the last few months, I’ve pondered adding a dash cam to my car. This idea didn’t come out of nowhere, though. After seeing enough individual cases of a dash cam being useful either in daily life or in the course of fighting traffic accident cases or violations, I started doing some research. Luckily for me, one such dash cam essentially landed on my doorstep1.
I’m going to break this review down into a few different parts:
Unboxing
This wasn’t my first Anker product unboxing experience so I was already familiar with what to expect. As a SoundCore owner, I knew the experience would be good but not mind-blowing3.
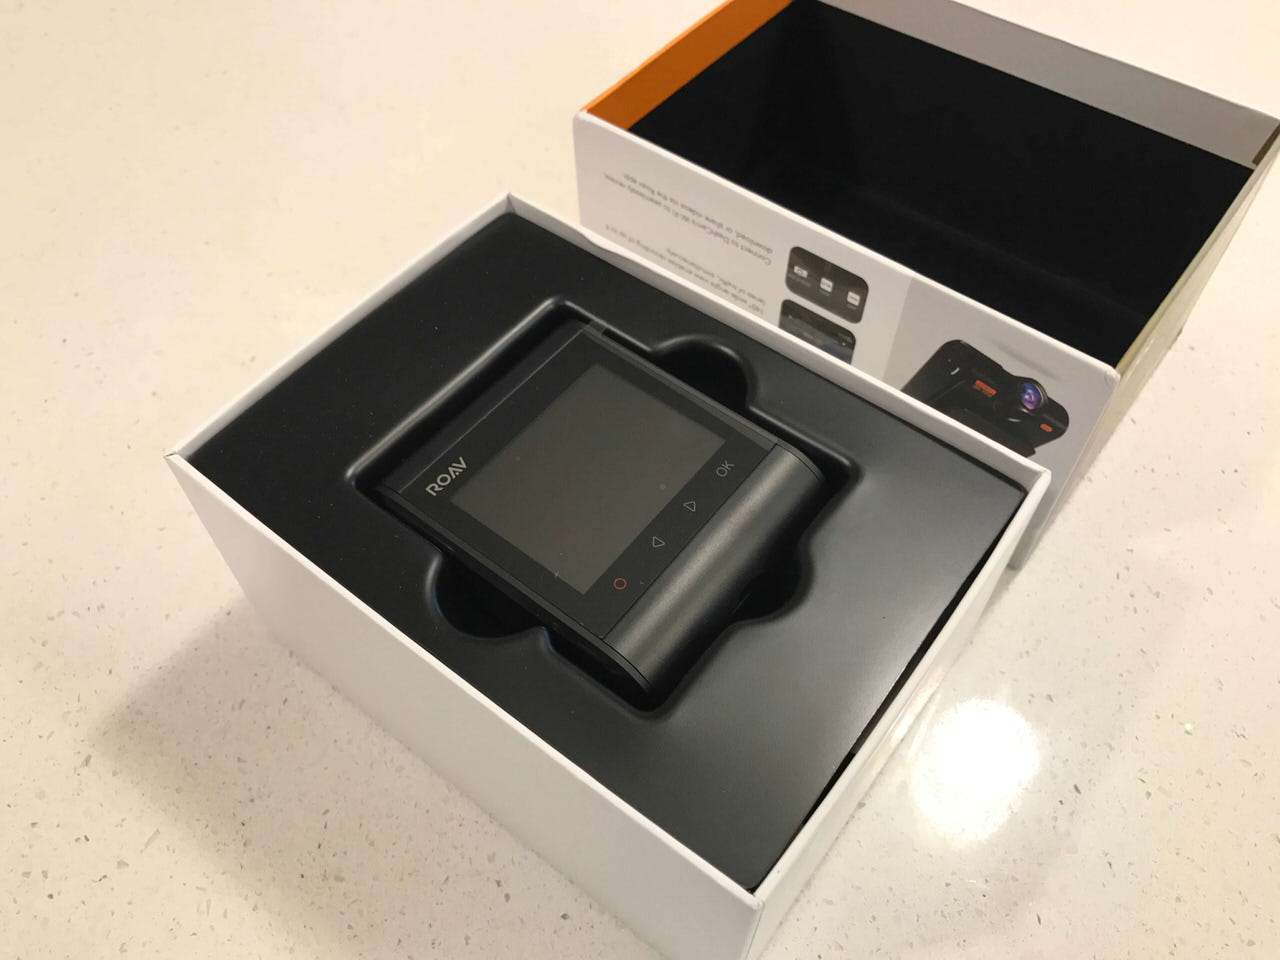
Cutting through the shrink-wrap plastic and lifting the lid, I was immediately greeted with the star of the show.
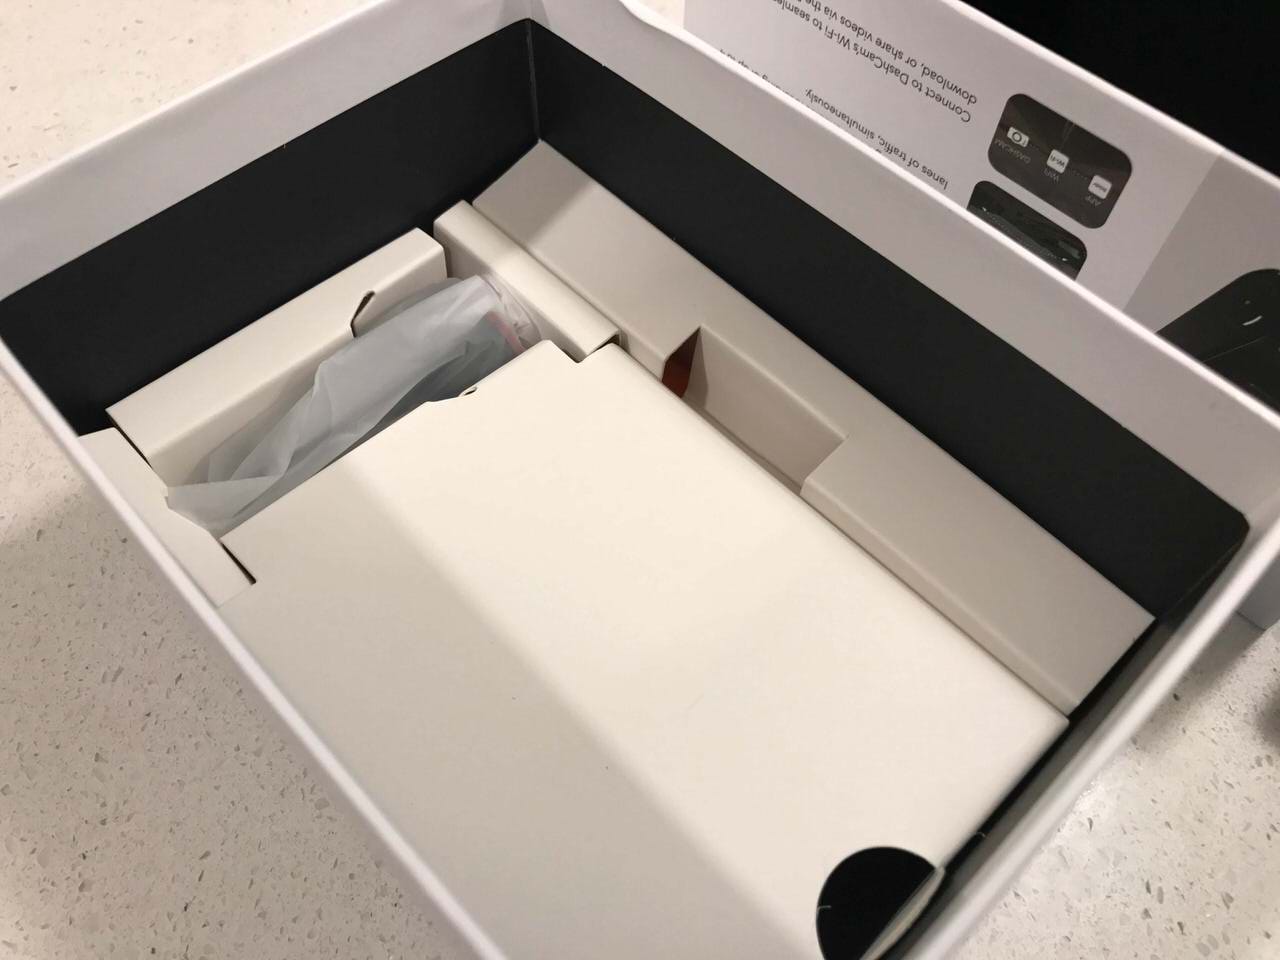
Underneath the black camera tray lay two divided sections and an Anker 2-port USB car charger. The long, narrow section held a spudger that would become more than useful once I got to the installation. The other the charging/power cable and mounting plate. The addition of the USB car charger was a nice touch. I wasn’t expecting to find one in the box. I ended up tossing this aside4 since I had one in my car, already, for iPhone charging.
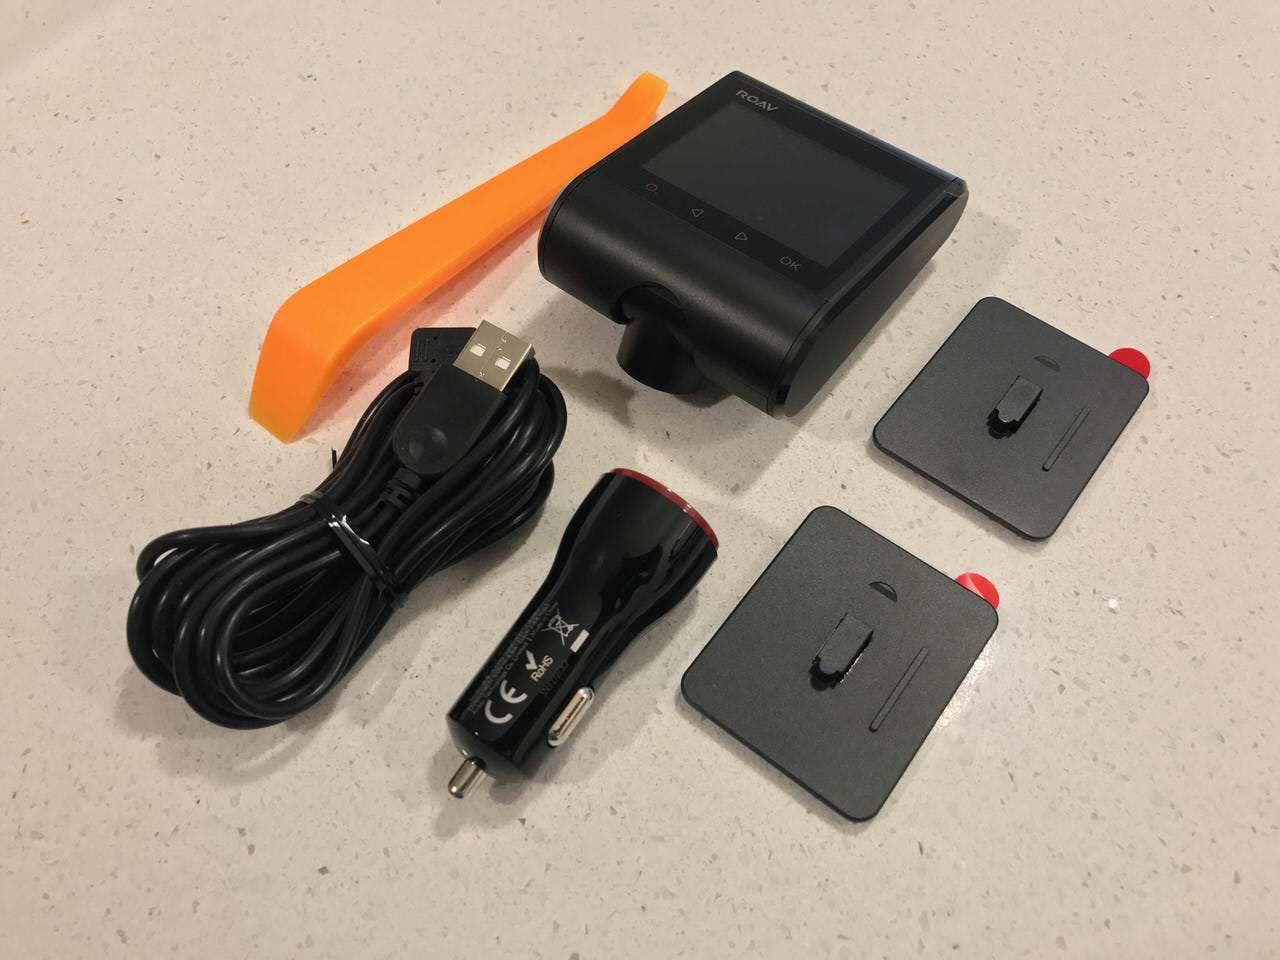
The box, in total, held the camera, two mounting plates5, USB charger, USB-A to micro-USB charging cable, and spudger tool. In addition, there were three document books: a quick start guide, the user manual, and a quick-quick start guide (a welcome card). I found the quick-quick card to be good enough to get everything up and running, but know the extra info is there, should you need it. The only thing I wish it came with is an SD card. I see quite a few competing options for sale online that offer SD cards included. It’s a cheap addition and an oversight by Anker, in my opinion.
Setup
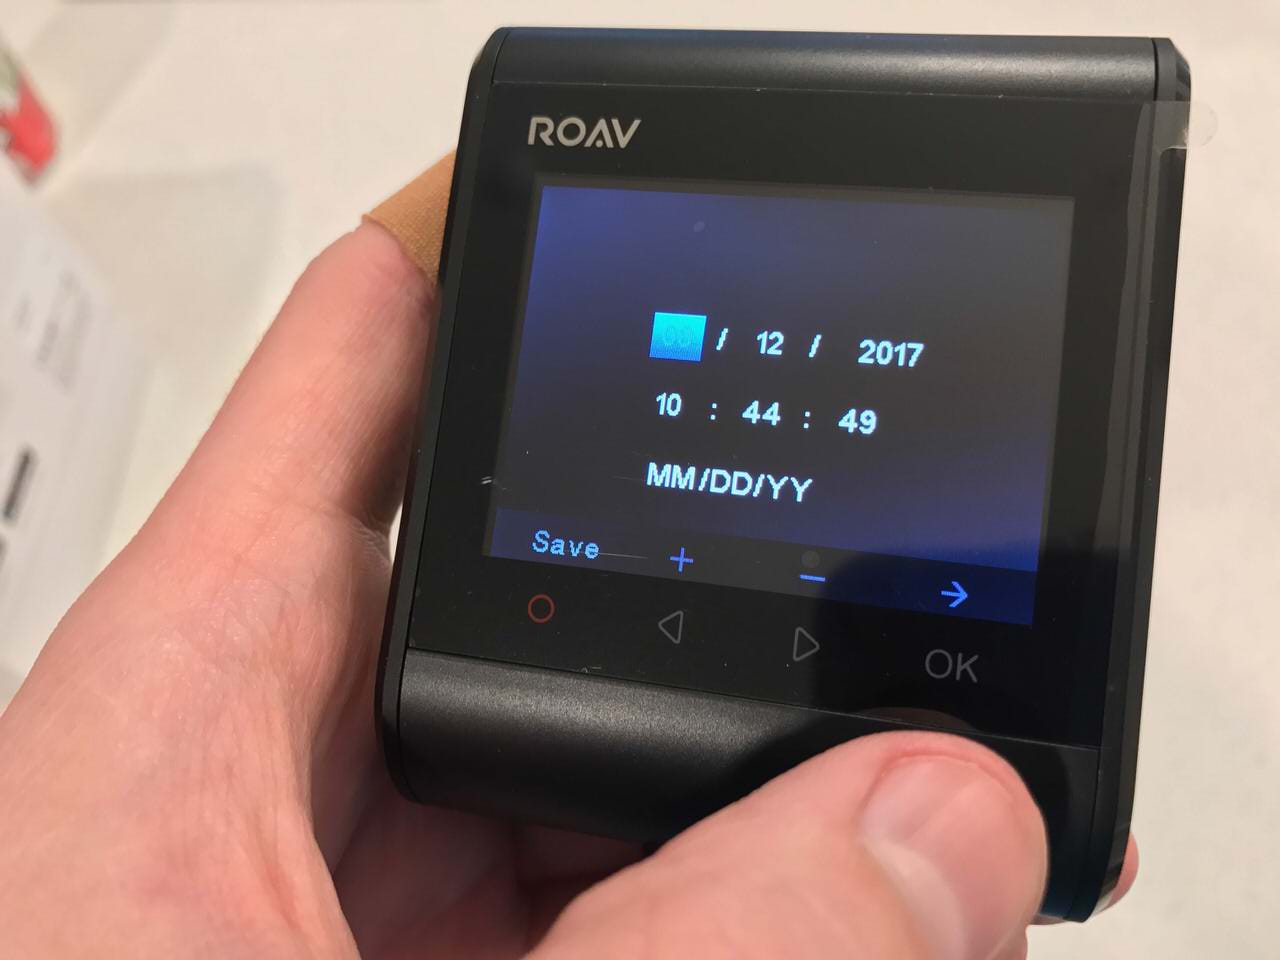
Upon first start, you’re prompted with a couple questions including setting the date and time. It’s definitely worth nothing that the time is 24-hour so if it’s 6:49PM, set it to 20:49. Don’t do what I did and set it to 06:49. I found this out after the fact via a screenshot I’ll share later. At the time, I didn’t know there wouldn’t be an SD card included so my setup process was put on hold until I could acquire one. Anker recommends a Class 10 card of 8GB, 16GB, or 32GB in size. I recommend getting the largest you can afford that Anker supports. I don’t know if it’ll take cards larger than 32GB. I didn’t have any to test. I recommend the SanDisk 32GB microSD card. The one I used is the SanDisk Pixtor 16GB, found at BestBuy for $20 on sale but $32 at the time I wrote this review.6. Once the card was in, the device is off and running.
It automatically records while on so its first video was me staring at it staring at my kitchen counter. Since it wasn’t plugged into power, it also started counting down from 60. At zero it automatically turns off to save power. Moving to the car, it was relatively easy to get this thing installed. Where I wanted to put it–behind the rear-view mirror on the driver’s side–I have a toll tag blocking the dismount from the adhesive-backed mounting plate, so I put it on the other side. A hidden plus of this is that I don’t see it while I’m driving. My front passenger will, but that’s not really a problem.
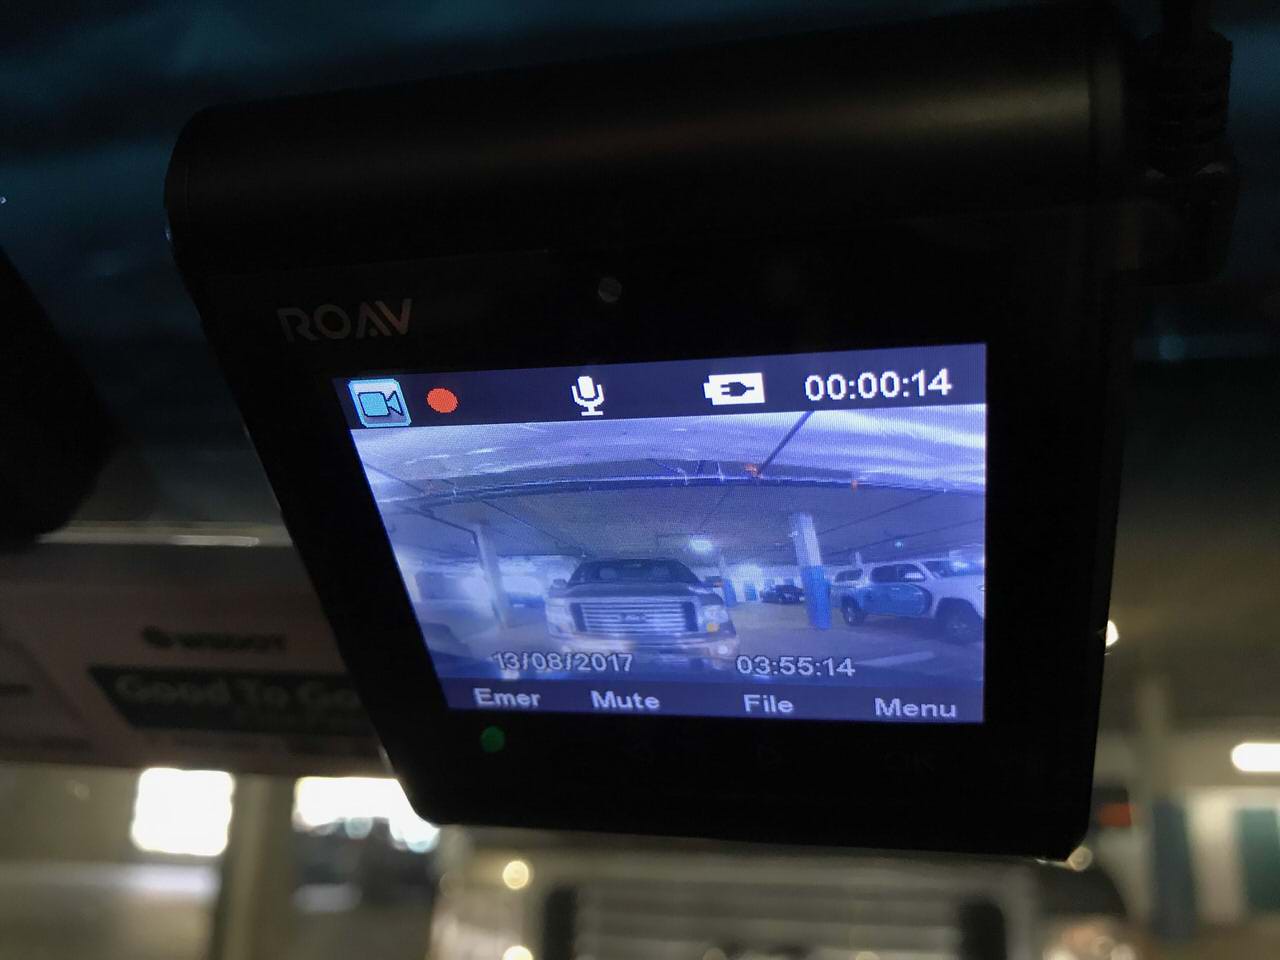
During the relocation, I had to use the spudger to pry off the mounting plate. Let me be the first to say that adhesive is serious. It’ll eventually come off but watch your leverage. I’m not responsible if you break your rear-view mirror trying to pop the plate off your window… though when I got mine off, it flew out the open door with conviction. Now that it’s on and plugged in, I need to route the cables. I opted to take the headliner-to-A-pillar route since a quick evaluation revealed the B-pillar wasn’t going to work for my car. This meant I might not have enough slack to make it all the way to my center-console-mounted car charger 7.
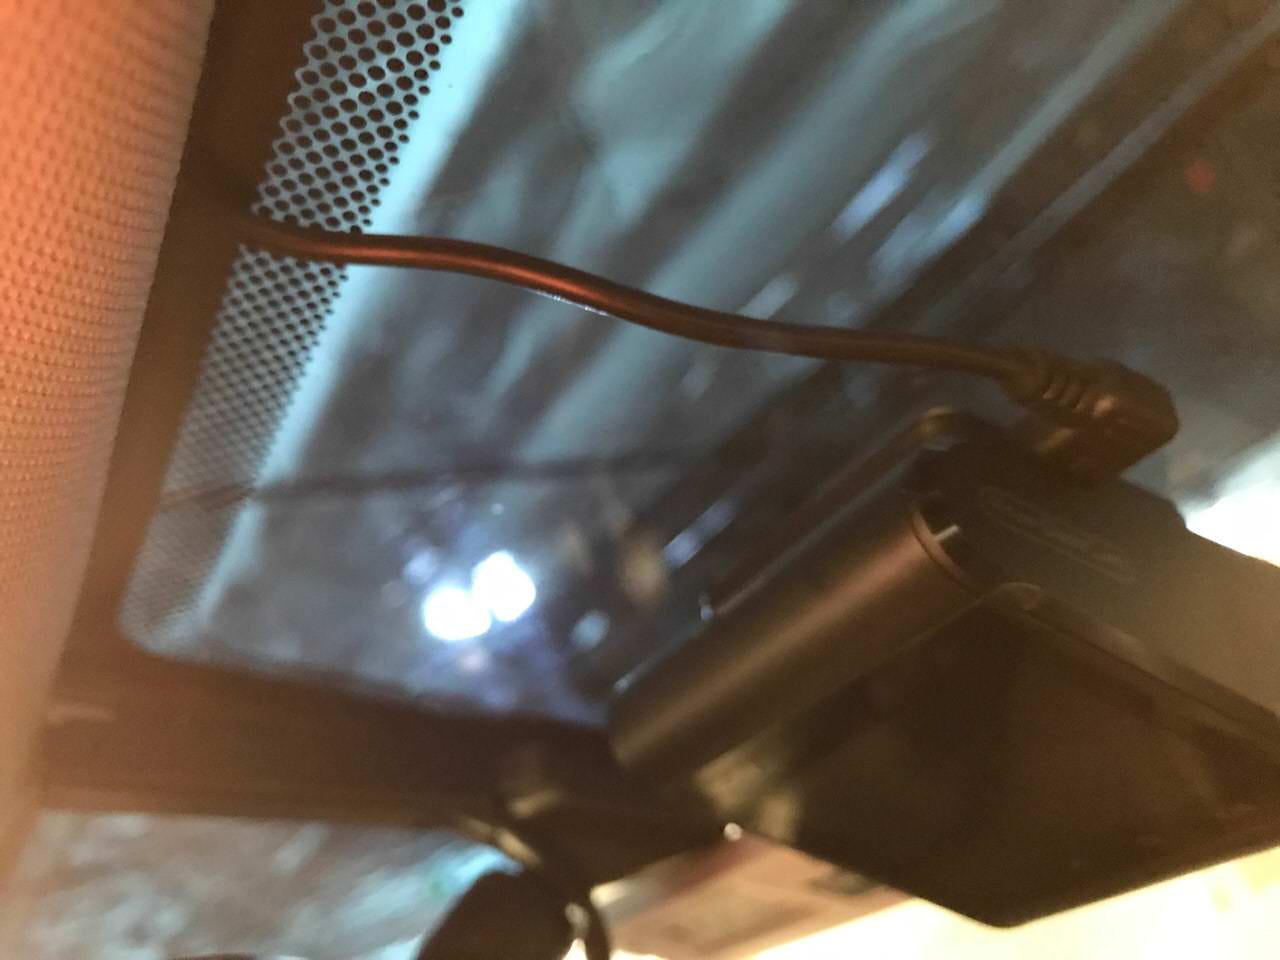
When it was all said and done, I was short by about 3 feet. I ended up using a USB-A male to USB-A female extension to reach the rest of the way. It’s hard to know how long is long enough because everyone’s car is different so I can’t fault Anker for that.
Usage
Recording videos is dead simple. The device is designed to automatically turn on and start recording when power is applied so turning the key (or pressing a button in some newer cars) is all that’s required. By default, audio recording is turned on so if you don’t want any evidence of your terrible in-car radio sing-a-longs, I suggest you flip that off in the settings.
Video Quality
The Roav has three quality settings:
- 720p @ 30 frames/second
- 720p @ 60 frames/second
- 1080p @ 30 frames/second
The default is 1080p and that’s where I left it. Examining a 5 minute clip, the video file came in at roughly 500MB. If you bought a small card, you’ll be overwriting footage after every 70-80 minutes of driving. For most, that’s totally fine, too. With my 32 GB card installed, I shooting for 2.5 hours of footage available at any given time.
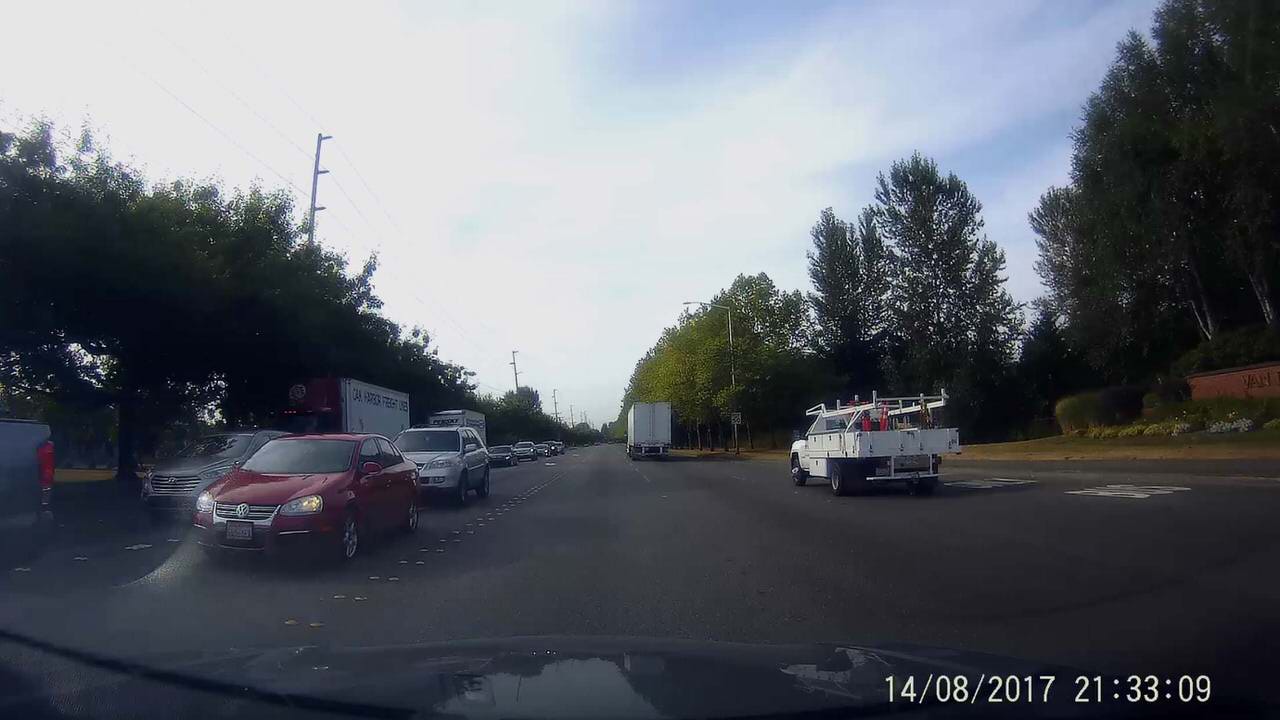
The videos are decent. The quality isn’t super great, but the dynamic range (differences between light and dark) are pretty good. The morning of my writing this review, I took a drive. The timestamp is off, but it was at 9:33 AM. Depending on the angle, license plates weren’t always legible, which was unfortunate. I suspect legibility will be limited to those directly in front of the camera or when the sky isn’t so bright.
I have yet to test it at night. I’ll follow up when I do. Here are a couple clips. The first is from what I was still parked. Your browser doesn’t support HTML5 video. And the second from when I was driving (taken around the same time as the screenshot above). Your browser doesn’t support HTML5 video.
Settings
There’s a whole host of settings that can be flipped around (check out the Companion App section for a visual aid) but the ones you’ll find most important are the crash sensitivity mode and the Parking Monitor.
Crash Sensitivity If you’re in an accident, you’ll want to make sure the video is saved off. The Roav will lock the video file so it can’t be overwritten at a later date.
Parking Monitor If you’re leaving your car unattended, the Roav will keep an eye on things for you while you’re gone, for a set amount of time, up to 24 hours. This’ll rely on the battery being charged so if you’re taking infrequent short trips and leaving the car for more than 24 hours, you might want to consider either shortening the duration or… well… driving longer. The battery might not make it to the end of the 24-hour window. Overall, I found the usage of the Roav to be fine. I kept getting confused by the fact that it’s not a touch screen–so much in our lives is, these days–and that tapping the capacitive buttons below the screen was how I needed to navigate. I suspect it’ll eventually sink in.
Companion App
The Roav has built-in Wi-Fi. When it’s turned on, you can connect to it as you would any other Wi-Fi hotspot8. Once you’re in, fire up the Roav app. The app itself is relatively self-explanitory so I won’t go into a ton of detail about it.
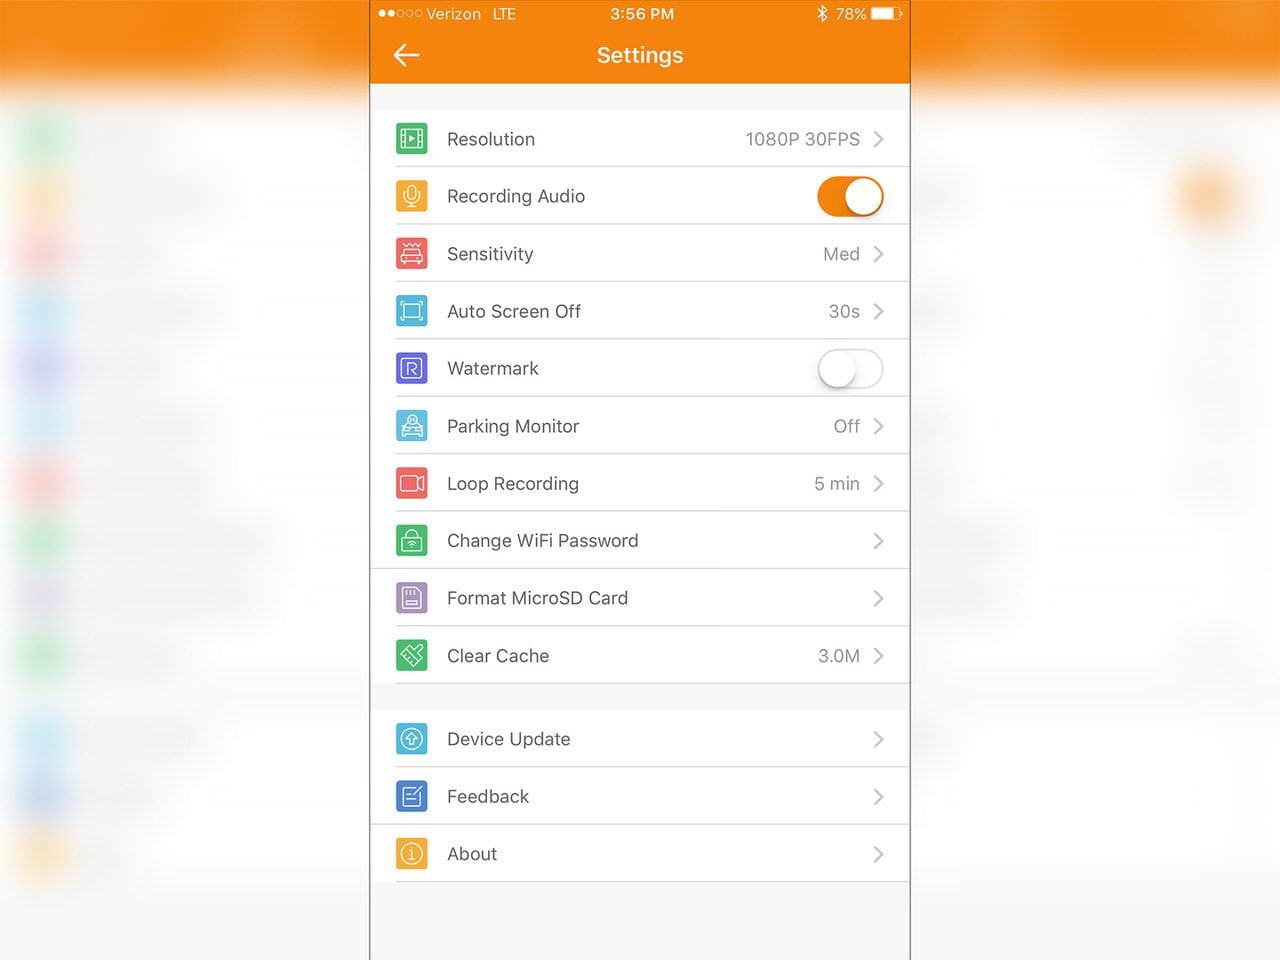
Like I mentioned earlier, all the settings are available from within the app. I’d argue this is the best way to set up the device. The screenshot above is what I’ve configured for my Roav.
Video Navigation
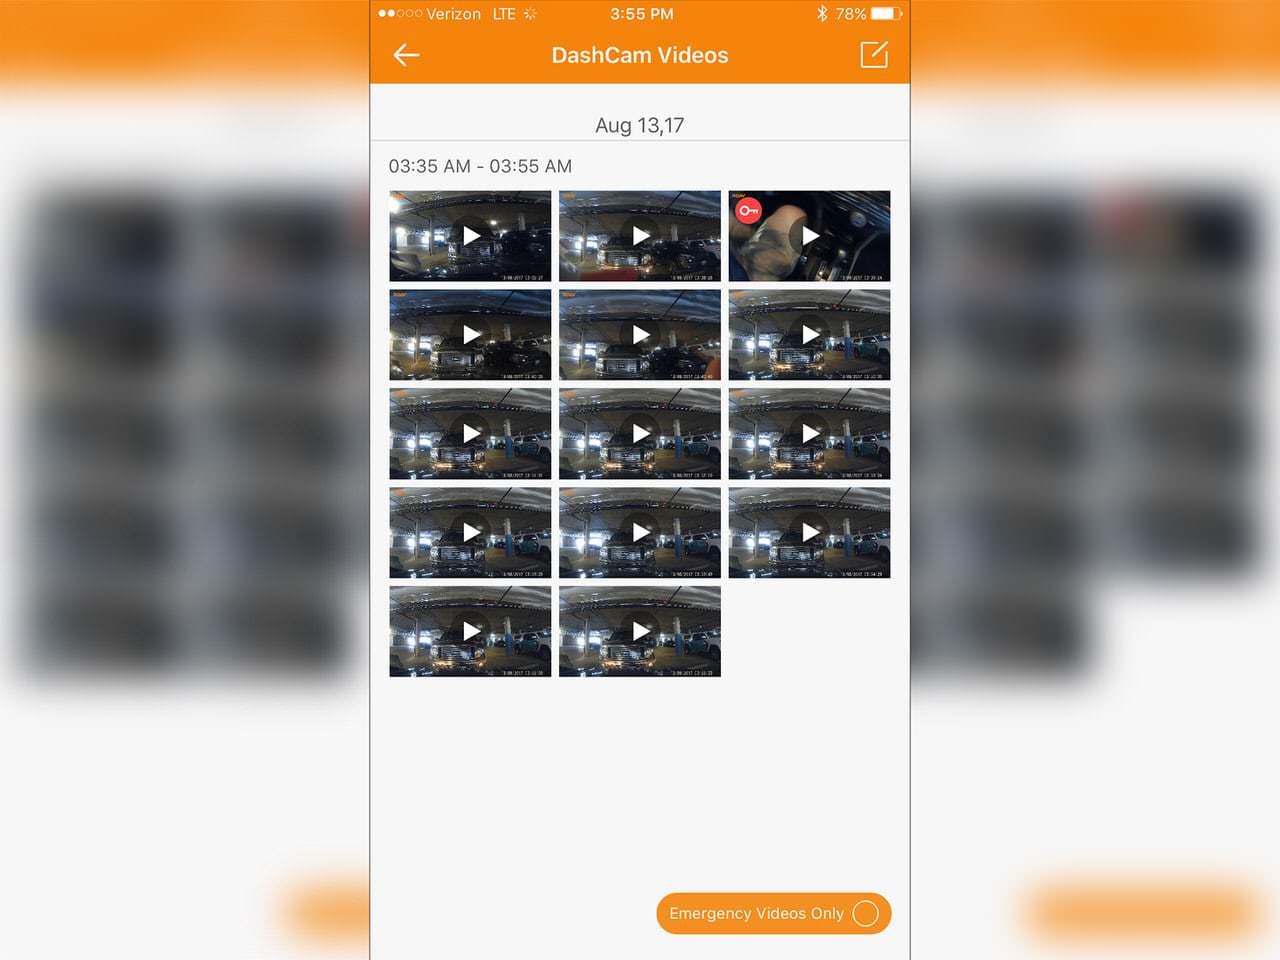
Being able to browse the Roav’s stash of videos on my phone is quite nice. Tapping on a video will allow me to start watching it, download it to the app for offline viewing or–and this is the odd part–download it to the app so I can copy it to my phone. Yes, it’s a two-step process.
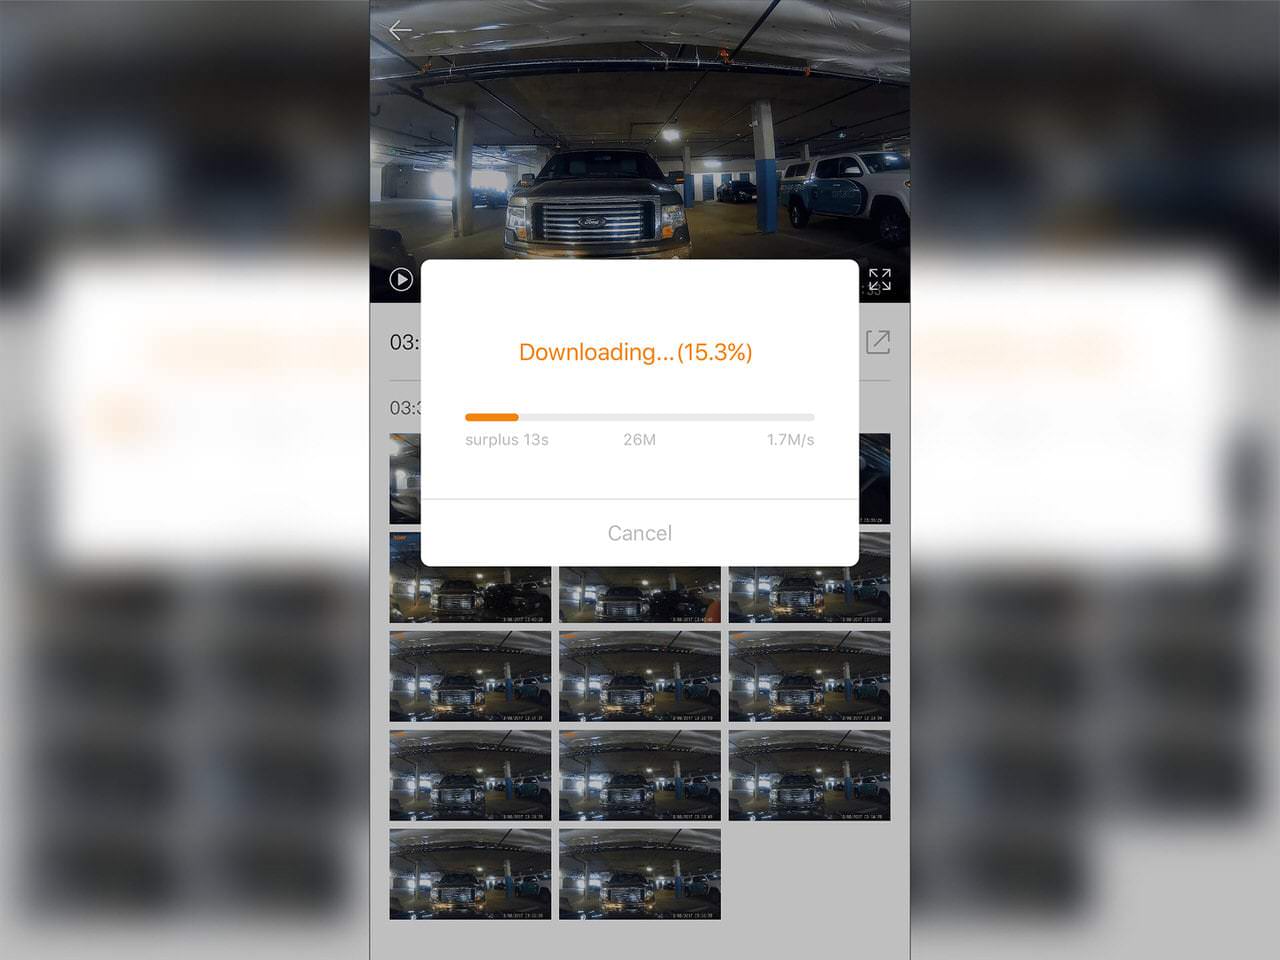
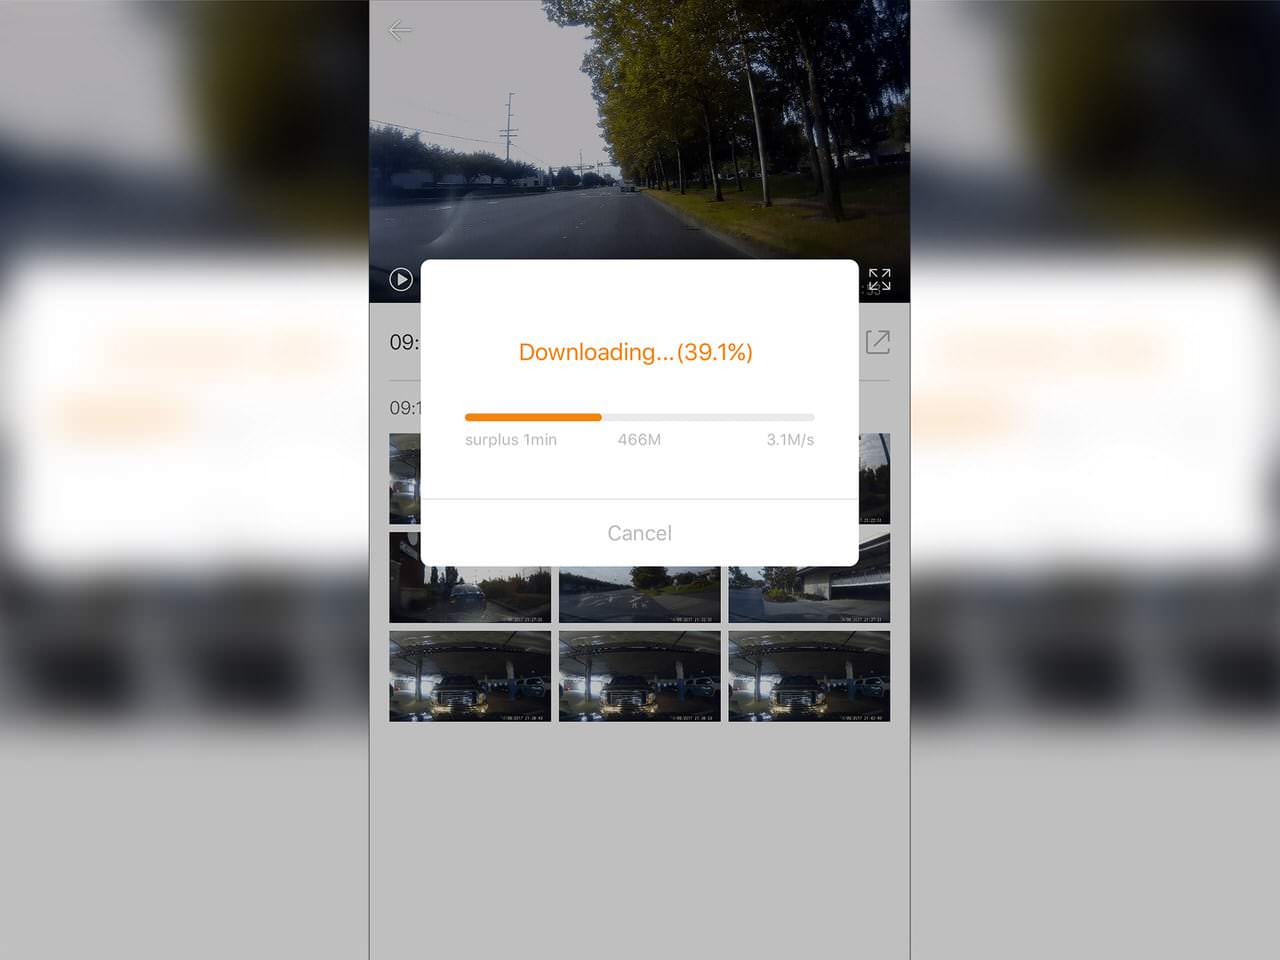
Downloading a clip is relatively painless. The speed is decent (around 3MB/second) which let me fetch that 550MB video I told you about earlier in just a couple minutes. The app doesn’t do a very good job of estimating how long it’ll take, though. The above screenshot had a valid and reasonably accurate estimate but the long video download did not (below).
Wrap Up
Overall, I like The Anker Roav. It’ll probably stay in my car for some time as it serves the purpose I need it to. I’d recommend this camera to anyone that is looking for one on a budget or doesn’t need a load of fancy features. There were a few areas I’d love to see the next version improve upon:
- I feel Anker could have stepped up the screen quality a bit as well as provide a better-compressed video file (15mbps is a bit much for a dash cam, in my opinion)
- Optional connection for a rear/internal camera. So much nonsense can happen behind a driver that a forward-facing camera won’t catch. The same goes for inside the car.
- Provide a micro SD card in the box. They’re cheap…
- …or have internal storage.
FINAL VERDICT: BUY. You can pick up the Anker Roav on Amazon for under a hundred dollars right now. That’s a steal, in my book.
- Anker contacted me and asked if I wanted an opportunity to review the Roav, free of charge. I obliged. Affiliate links may be used based on my final conclusion. Consider this the disclaimer. ↩
- This is its own section because the Roav app is entirely optional. Everything you can do by poking at the camera screen or popping out the SD card can be done in the app and vice versa. ↩
- I think Apple takes the cake, there. ↩
- A drawer ↩
- The second was underneath the camera in the black tray. ↩
- I wouldn’t normally go to a retail store for something like this but I didn’t want to wait and the difference was just a few dollars– a deal’s a deal! ↩
- My car provides two cigarette lighters: one underneath the center stack and one in the center console underneath the arm rest. ↩
- You might notice your phone not show a Wi-Fi symbol. I deduced this is probably because the phone can’t actually get to the Internet via Wi-Fi so it’ll prefer LTE. ↩